- HubPages»
- Technology»
- Computers & Software»
- Operating Systems»
- Windows
XP Network Installation Guide| How to Boot Windows From Network| How to Configure &Install Vista-XP in Networking Mode


For Windows Vista or XP network installation you need either windows server 2003 service pack 2 or Windows server 2008. With both this operating system comes a free service- windows deployment service. If this server is not installed with windows 2008 or 2003SP2 then insert the Server 2008/2003 installation disk on your server CD ROM. But before preparing your server for network deployment service make sure your server has the following items configured:
Active Directory
DNS
DHCP
WDS-Windows deployment service
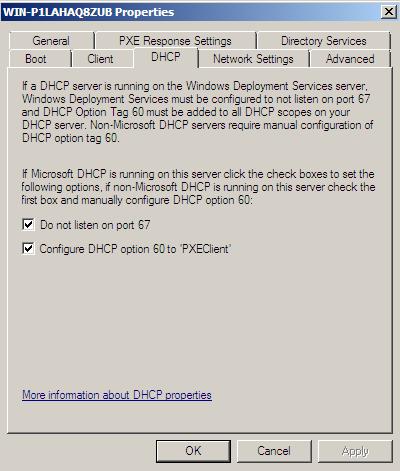
Note-While installing WDS remember to select both the following option:
Do not open listen on port 67
And configure DHCP option 60 to “PXEClient”
You can check this configuration by right clicking the server properties from the WDS and then going to DHCP option.
If WDS is not installed then at first install it on your server computer and insert the XP or VISTA CD into CDROM drive and follow the instruction below:
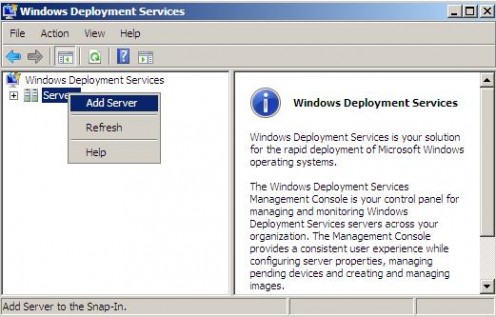
1- Open WDS from Admin tool and Right Click on Server then Add server and select your server name as the WDS.
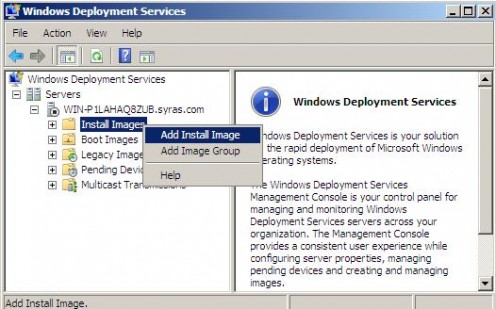
2- Now expand the server name & right click install Image and then add install image.
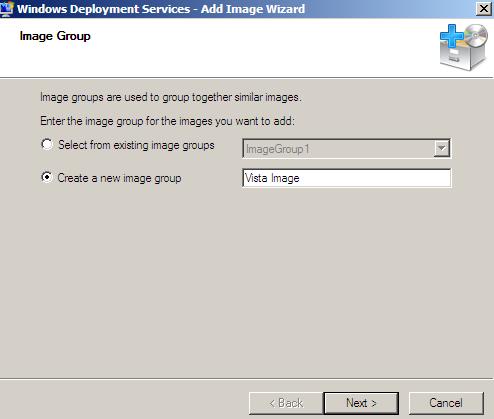
3- Click new image and then write vista image/xp image as you wish to install and click next.
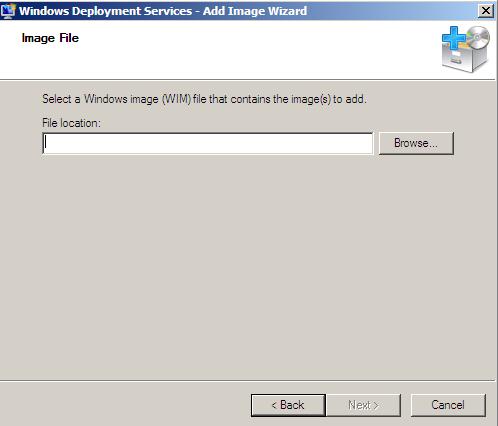
4- Now go to browse and select the Vista DVD or you can locate Install.wim file from the DVD. Select the wim file, click Next and get a list of all the available Vista images stored in the WIM file.
5- Now click next . All the necessary files will be copies to your local hard drive.
6- In the WDS check the install image and boot image option to see if the images are there or not. Sometimes boot image can be missing then right the click the boot image and select add boot image choosing the file of boot.wim from the DVD.
7- Once copy is over your server is ready for network intalltaion.
Vista-XP Network Installaton
Note-While installing WDS remember to select both the following option:
- Do not open listen on port 67
- And configure DHCP option 60 to “PXEclient”
Now connect your client PC or laptop with the server LAN and start the Client PC.
While booting press F2 to enter the setup mode. From setup mode select network booting option to enable your PC diskless network booting . Save the configuration and restart your PC. Now you will find that you PC is looking for IP from DHCP. On getting the IP press F10 and installation will start the same way like normal CD ROM/DVD ROM installation. Just follow the instruction after entering the user name of the server computer or any privileged user account name available in the active directory of the server.
DOS commands for Windows XP
- Windows XP, 7, Vista Command Line & Prompt | All DOS Commands of Windows Networking
With the help of windows xp commands one can solve and troubleshoot many of the xp related problems. As a matter of fact all the commands used in XP are also applicable to other Windows based operation...